
How to Install Hexagon Garage Lights: Planning Checklist
Published 2026-09-25
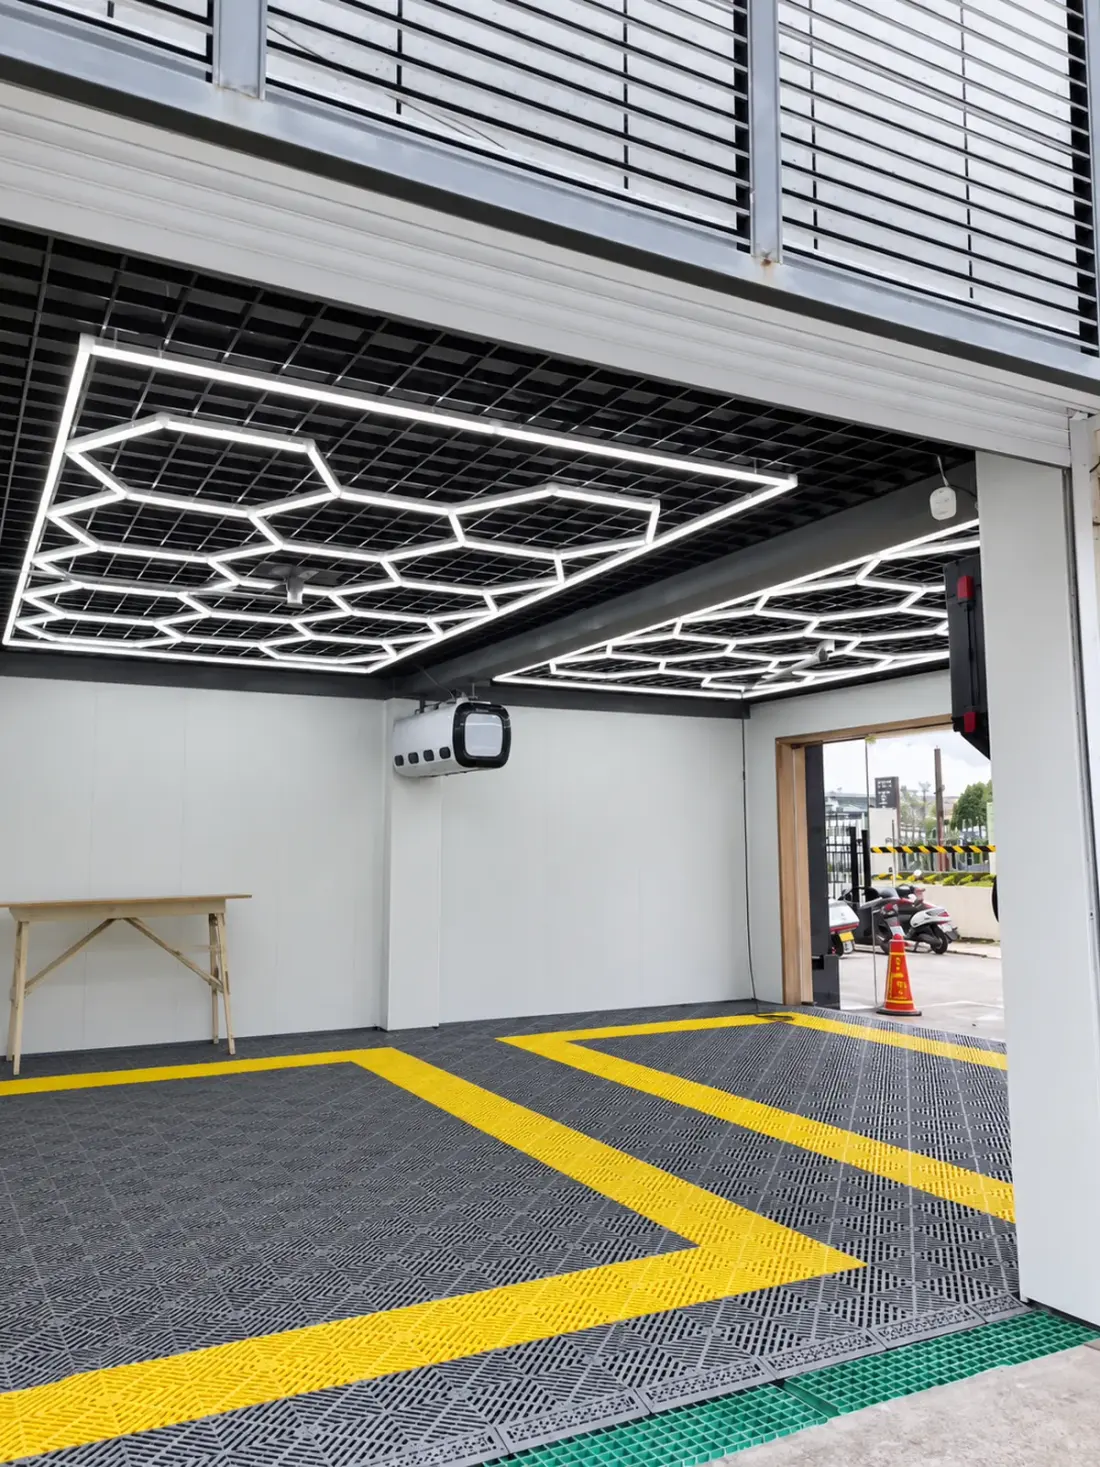
Hexagon garage lights are assembled on the ceiling from tubes and connectors, so most of the work happens before anything is fixed: getting the layout right, knowing where it attaches and deciding where the power comes in. This checklist covers that planning. Confirm the fixing details for your exact kit with us before you start, and have the mains connection made by a qualified electrician to local code.
1. Confirm the layout on paper
Start from the overall size of your configuration, for example 4070 x 2390 mm for a 14-Hex grid, and draw it on a plan of the ceiling. Check it clears the garage door track, opener and any beams, and that it sits over where the car stands.
2. Mark the ceiling
Transfer the outline to the ceiling with a chalk line or laser. Mark the connector positions: the grid is only as neat as these points, and small errors add up across a large layout. On plasterboard, note where the joists run so the fixings have something solid to hold.
3. Plan the power feed
Decide where the supply reaches the grid before fixing anything, so the cable is not visible across the ceiling. Add up the rated power of every configuration you install; that connected load is the figure the electrician needs to size the circuit. The AC product lines accept AC85-265V, covering 110V and 220V supplies.
4. Assemble and fix
Fix the connectors at the marked points, then fit the tubes between them, working outward from one corner so the grid stays square. Keep spare connectors and tubes from the kit: because every part is separate, a damaged tube is replaced on its own later.
5. Test before finishing
Power the grid and check that every segment lights evenly before tidying the cable and closing up. A segment that does not light usually points to a connector that is not fully seated.
Can I install hexagon garage lights myself?
The assembly of tubes and connectors is straightforward, but the mains connection should be made by a qualified electrician to local regulations.
How long does installation take?
It depends on the grid size and ceiling. Time spent planning and marking the layout accurately saves the most time on the day.
Can you help plan the installation?
Yes. Send your ceiling dimensions and photos and we will return a layout drawing, and confirm the fixing details for your kit before you order.